Prepare Your Backyard for Adventure
Installing a zip wire kit is one of the best ways to add excitement to your garden, but knowing exactly how to do it right is key. A proper installation ensures safety, durability, and the ultimate thrill for riders of all ages. This guide covers everything you need to know about zip wire kit installation so you can set it up quickly and confidently.
Choosing the Right Location
The first step in zip wire kit installation is selecting the perfect spot. Ideally, pick two sturdy trees or poles spaced 50 to 100 feet apart. One anchor point should be higher than the other to create the proper slope—usually about a 6–8% incline—for smooth and fast rides.
Make sure the path is clear of branches, fences, or any obstacles. Safety is paramount, so allow enough clearance below and around the zip wire kit.
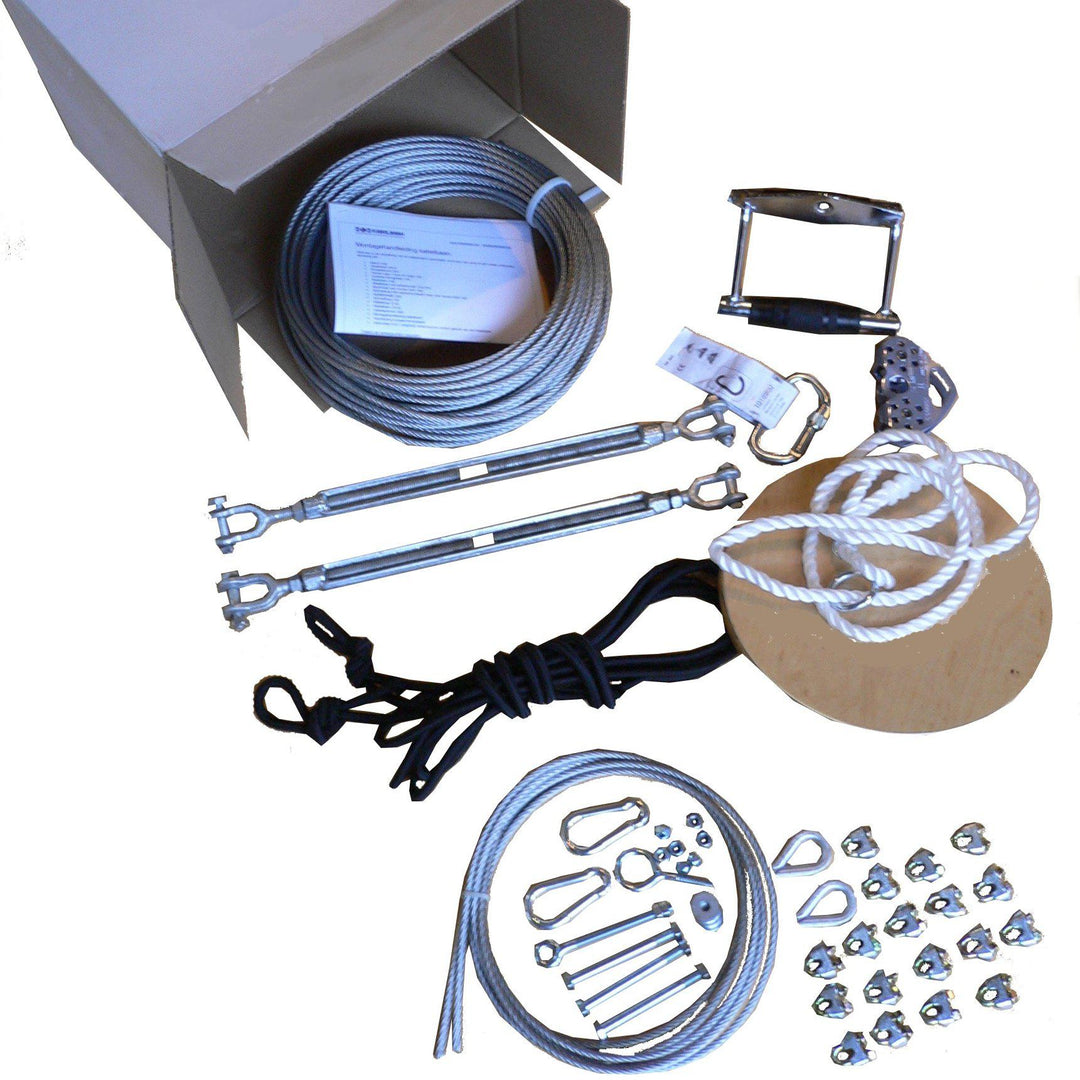
Gathering Tools and Materials
Most zip wire kits come with everything you need: cable, pulley, seat or harness, cable tensioner, and hardware. For installation, basic tools like a wrench, ladder, and measuring tape will suffice. Always wear safety gloves and helmet during installation for protection.
Step-by-Step Installation Guide
- Attach Cable to the First Anchor
Secure one end of the galvanized steel cable around the higher tree or post using the provided clamps or U-bolts. Wrap the cable tightly and ensure it won’t slip. - Run Cable to Second Anchor and Secure
Stretch the cable towards the second anchor point. Use the cable tensioner included in your kit to pull the wire tight, removing sag and improving speed. - Install the Pulley and Seat
Before fully tightening, slide the pulley onto the cable and attach the seat or harness securely. Make sure the seat height is appropriate for riders to get on safely. - Double-Check All Connections
Go over all nuts, bolts, and clamps. Tighten everything firmly and test the cable tension once more. - Test with Weight Before First Ride
Use a heavy bag or sandbag to simulate a rider’s weight and test the zip wire kit. This ensures stability and safety before actual use.
Safety Tips for Installation
- Always follow the manufacturer’s installation manual precisely.
- Avoid using weak or damaged trees as anchors.
- Keep children and pets away during setup.
- Don’t exceed the recommended cable length or weight capacity.
- Regularly inspect the zip wire kit after installation to maintain safety.
Maintenance After Installation
Proper maintenance extends the life of your zip wire kit. Inspect cables and pulleys monthly for wear, clean and lubricate moving parts, and tighten any loose fittings. Store removable seats or harnesses indoors during harsh weather to prevent damage.
Why Professional Help May Be Needed
While many find zip wire kit installation straightforward, don’t hesitate to hire a professional if you’re unsure. Proper setup is crucial to avoid accidents and maximize fun.
Conclusion
Zip wire kit installation is simple when you know the right steps and precautions. Choose solid anchor points, use the included tensioning hardware, and always prioritize safety. With correct installation, your zip wire kit will provide countless hours of thrilling backyard fun. Get ready to soar—your ultimate outdoor adventure starts here!